Wire Transfers
CDM offers a comprehensive suite of user-friendly Eforms, including Wire Transfer Request Forms. This software can be used by representatives at a bank to facilitate Wire Transfers Requests.
How it works:
Click the “Start a New Wire Transfer” Button and follow the 4-part module as noted at the top of each screen.
Section 1: Enter Account
Enter the accounts where the wire transfers will be pulling from:

As the account numbers are entered the system can validate them, letting the representative know whether the account is valid, or if the representative does not have access to start this transaction.
Section 2: Authenticate Caller
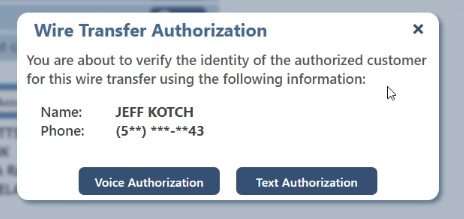
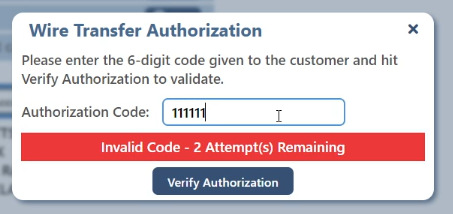
Review Authenticate page and authenticate the caller.
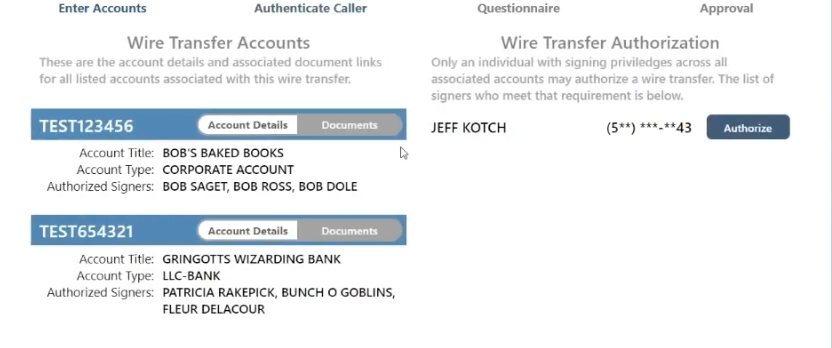
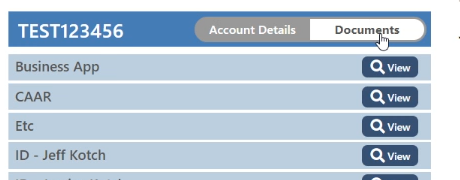
On the left hand side of the authentication page are the details for the accounts which were entered on the previous screen.

Section 3: Questionnaire
Enter the answers to the custom Questionnaire.
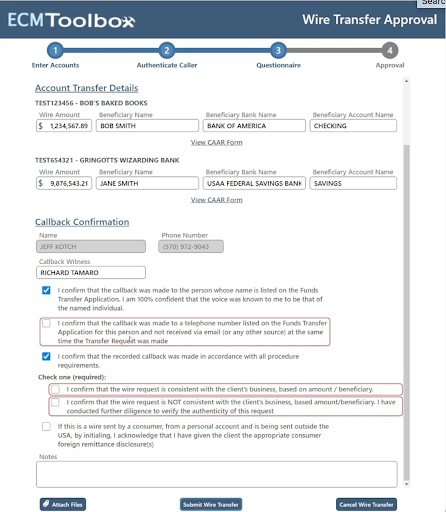
This questionnaire can contain multiple accounts along with the amounts being transferred from each and who the receiver will be.
All form entry fields are strict and only allow specific types of data to be entered. You can validate data that is entered as long as you have access to that data in a database, web service, or other API. These data fields are stored in a SQL table for later reference.
You will notice when ‘submit’ is clicked that a few of the checkboxes are required before the form can be completed. This is demonstrated by the red outline around the field. If we check it and hit submit the red outline goes away. The same goes for the other two checkboxes, which require at least one of them to be checked in order to proceed. Data validations are performed on the client side for responsiveness, but also by the server to verify that all data is correct.
Add attachments if desired by clicking “Attach Files”. When clicking the attach files button, a file browser windows pops up allowing the selection of multiple files. These files are stored with the wire transfer for use later.
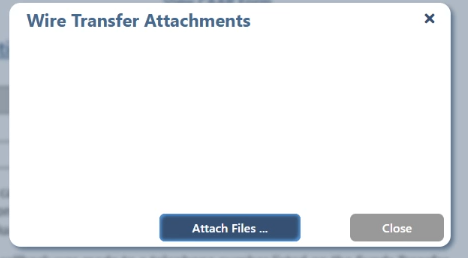
Add attachments if desired by clicking “Attach Files”. When clicking the attach files button, a file browser windows pops up allowing the selection of multiple files. These files are stored with the wire transfer for use later.
Section 4: Approval
Review Approval Page and make note of Reference Number.
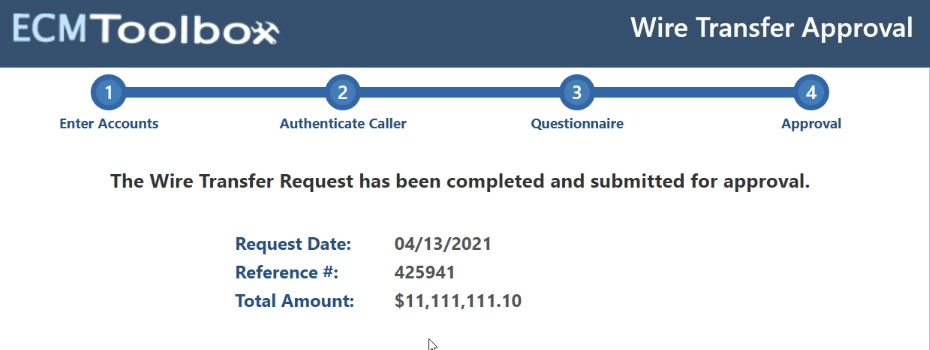
When the rep has completed the form they will receive a Reference number that allows them to track the status of the Wire Transfer and the total amount.
The Approved Form is automatically imported in the document management system and a workflow process begins.
Learn how Wire Transfer and other custom Eforms can improve the flow of your business.
Contact us today to schedule your FREE consultation.


